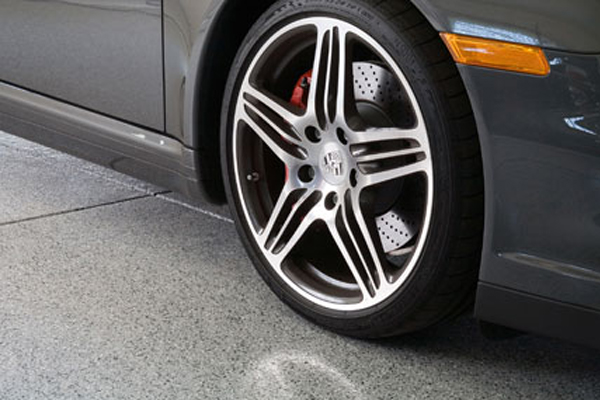
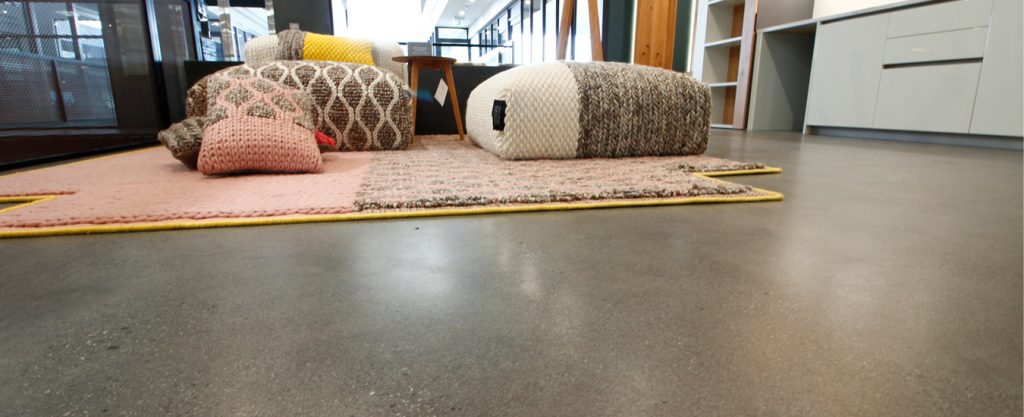
Turning a dull garage floor into an aesthetically pleasing yet durable, slip-resistant surface is easier and cheaper than you think.
Nowadays, epoxy floors are commonly found in garages. Considering the durability that they offer, it makes sense why more homeowners are using this type of flooring for residential projects, too. As epoxy flooring is also often slip-resistant, it’s ideal if you’re planning to double up your garage as a workspace. Plus, compared to other materials, it requires little ongoing maintenance.
If your garage floor is currently a simple concrete surface, it isn’t difficult to apply a coating to it. Even if you don’t plan on doing it yourself, knowing the materials and steps that are needed to epoxy a garage floor can help you to hire the best contractors for the job.
Getting ready to DIY your new epoxy garage floor
How to epoxy a garage floor can be broken down into three main steps: preparing the floor, mixing the material, and applying the resin. When working on this project, it’s important to ensure that you have proper ventilation. This is key for managing fumes.
Depending on whether you’ll first need to repair cracks or plan to add a top coat at the end, you’ll need the following supplies, materials, and tools to get started:
- Concrete
- Chemical stripper
- Plastic sheeting
- Painter’s tape
- Bristle broom
- Etching solution
- Hose pipe connected to a tap
- Two paint trays
- Two paint brushes
- Two paint rollers
- Roller extension handle
- Paint
- Hardener
- Clear top coat
Step-by-step guide to epoxy your garage floor
#1 – Prepare the floor
Like most construction projects, preparation is key. For the best results, this resin should be applied to a floor that’s even and clean. While the surface can be slightly rough, it should not have any cracks.
If you have any cracks that need to be filled, they should be taken care of at least 60 days before you can move on to the actual application of the coating. Also, the concrete must be unsealed. So, if your current garage floor has a sealer on it, you’ll first need to use a chemical stripper to remove the sealant.
As mentioned, the surface also needs to be completely clean. After you’ve ensured that there are no cracks, you also need to clean it to remove any grease and other types of dirt. A dry, clean paint brush can come in really handy to clear all the corners from fine dust.
To protect the walls, you’ll also need to cover them. You can simply secure plastic sheeting with painter’s tape to cover the walls.
#2 – Etch the floor with etching solution
Using the directions provided by the manufacturer, combine the etching solution with water. Remember to wear the required PPE, like safety glasses, gloves and rubber boots, when mixing this solution.
After you’ve prepared the etching solution, first wet the garage door using a hose before you start to pour the solution. The best approach is to start in the corner that’s farthest from the exit. As you pour the etching solution, use a bristle broom and scrub the area thoroughly.
Once you’ve scrubbed the entire floor, use your hose and rinse the floor again. Once the water is completely clear, you can stop rinsing it.
Let the floor dry completely before you start mixing the paint. This usually takes four hours.
#3 – Mix the resin
For this step, you’ll need the paint and the hardener. First, ensure that you stir the resin before you slowly add the hardener to it. After about three minutes of careful stirring, the paint and hardener should be properly mixed.
Cover the can with a lid and let it stand away from direct sunlight for 30 minutes. Keep in mind that this mixture must be used within two hours.
#4 – Apply the resin
You’re finally ready to start applying your epoxy to the garage floor. To make life easier, pour the mixture into a roller tray. Use a paint brush to paint the borders of the floor where they meet the walls first. Then, using a roller fitted to an extension handle, you can continue to paint the rest of the floor.
It’s best to start with the corner farthest from the exit again and proceed to cover the floor in sections. To get rid of any uneven lines, simply dip your roller into the paint again and paint it in a perpendicular direction.
If you’ll be applying two coats, allow the surface to dry before applying the second coat. The floor will typically need about 24 hours to dry, possibly shorter.
#5 – Prepare the top coat
Applying a clear top coat is a great idea as it can improve durability. To prepare the top coat, add the hardener to the clear top coat and stir the mixture for three minutes. Cover the can with a lid and let it stand away from direct sunlight for 30 minutes.
#6 – Apply the top coat
Before applying the top coat, be sure to stir the mixture for about a minute again. Using a clean paint brush and roller (not the same ones that you used for the resin), apply the top coat using the same method that you used to apply the resin. Let it dry for at least 24 hours before allowing foot traffic and 72 hours before parking any vehicles.
How long does it take to add garage flooring?
Depending on the size of the surface that needs to be covered and how many coats you wish to apply, a residential garage can boast a new floor within seven days. While you might be tempted to cut corners, it’s best to follow the instructions. The new floor might seem dry to you, but that’s not to say it’s quite ready to welcome your SUV that weighs 3,000 pounds plus.
While going DIY is possible, hiring a professional is still your best option
Technically, you can buy the materials and tools needed to epoxy your garage floor. However, it’s a project that’s best left for experienced installers. The DIY kits that are available often don’t have the high-quality products required, and ultimately you’ll likely end up with a very thin coat that hardly offers protection. Needless to say, this will only cost you more money in the end.
Also, professional floor installers know how to prepare the surface properly and how many coats to apply. Without this knowledge, you risk ruining the entire project.
So, to make sure that your new garage floor will look great for many years to come, it’s best to speak to the team at Hawk CFC. We’re specialists in how to epoxy garage floors. We also offer a full delamination warranty and manufacture all of the products we install right here in Western Australia. For more information, request a free consultation or call us on 0490 777 761 today!


